

Tip: Create Your Own Preset!
Whether you’re new to photography or have been shooting for years, I think we’ve all been there:
We’ve amassed a certain amount of presets/actions from companies or photographers we like and have grown comfortable with applying them… The problem, though? They never seem to 100% fit your style, and you end up fighting back against the preset, constantly nudging away at the sliders. Then, when you shoot somewhere that’s out of range of the collection of presets you’ve accrued, you dread the editing process that will take you SO MUCH TIME to figure out.
Familiar, anyone?? I see those hands.
My recommendation: Create your own preset(s)!
The good news about creating your own presets is that you can take the best features from your favorite presets and use them in your own personalized preset, while dumping off/changing the things you don’t want! This will save you a ton of time in your future, I promise.
Several years ago, I decided to do this for myself. I created a few presets (I’ve tossed around the idea of selling them, we’ll see!) for various lighting settings, based on adjustments I consistently found myself making in Lightroom. I wouldn’t have discovered some of the settings I incorporated in my presets if I hadn’t already fallen in love with other people’s, so we can always learn from one another!
For example:
Let’s say you always shoot with a 24-70 lens.
You know that when you’re closer to 24, your lens distorts more prominently. You might choose Lens Corrections ([CMD + 6 ] in the develop module) to remove chromatic aberration and make lens corrections, while ensuring your lens profile is entered in the drop-down tabs.
If you always tend to shoot slightly underexposed and you almost always adjust the curves and exposure, go ahead and make those adjustments.
I found myself constantly fixing green hues that were overly blue by sliding the hues bar ([CMD + 3] in Color Mixer) more toward yellow for look that’s more natural to the eye. I also tend to play with the luminance of the blues, greens, and yellows, depending on whether I’m editing something bright and airy or more neutral (same panel).
Sometimes, I’ll make further color edits within the Curves panel ([CMD + 2]) using the individual RGB lines.
Only you will know what you like and how you tend to shoot, and how that combines with your particular camera and lenses once you bring it into Lightroom or Bridge.
Go ahead and save your preset, even if you’re not completely sure about it! The good news is that you can always edit it later if you find that you’re still regularly adjusting something that you ended up not being happy with.
There’s an extra bonus to creating your own preset! You can use your preset in Lr mobile – on the go! If you tend to shoot similarly across cameras, like I do, you might find yourself using similar presets on your phone images, as well. I ended up importing my setting into my mobile version of Lightroom, and I can quickly color correct any images I take and have them ready to share within seconds without sacrificing a higher-end look I’ve become used to from editing photos on my computer. While the cameras themselves don’t compare to one another, the look of the edits go a long way toward elevating my phone images.
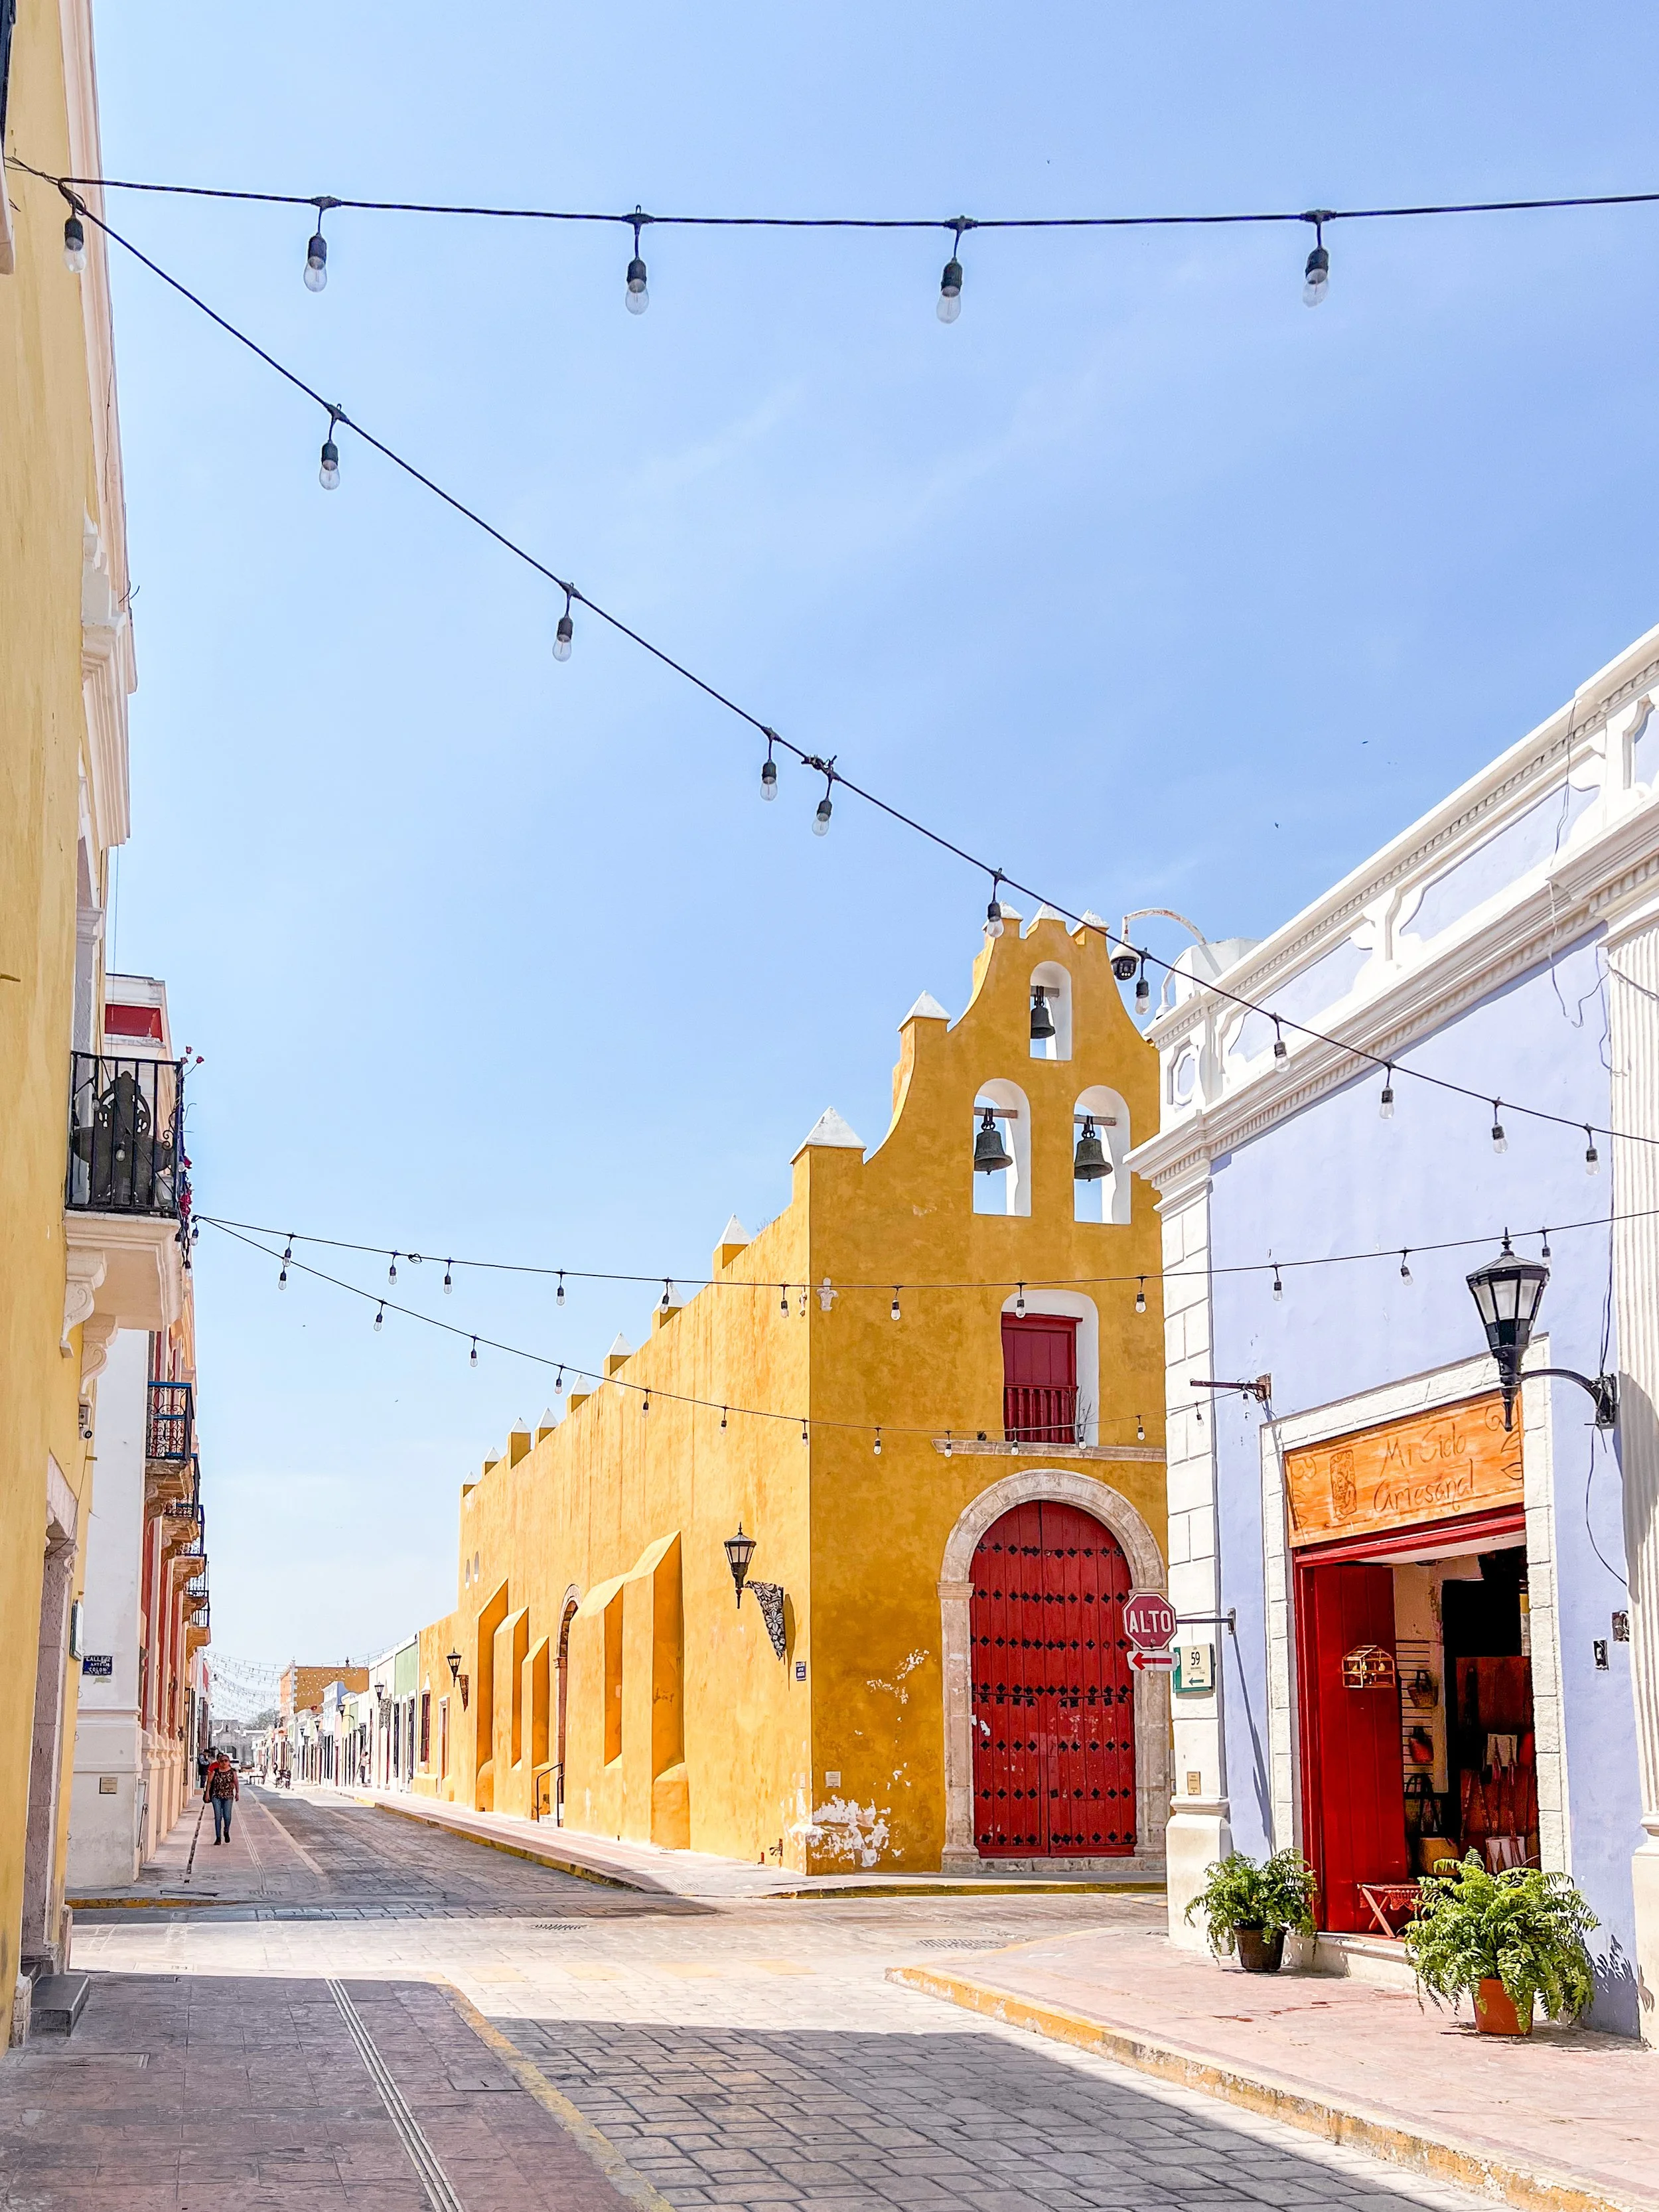
Here’s an iphone image I edited with my own preset while on vacation in Mexico:
So, if you’ve never tried it before, go for it and make your own custom preset to use on your future sessions! I’d love to hear how it goes. :)
-Laura